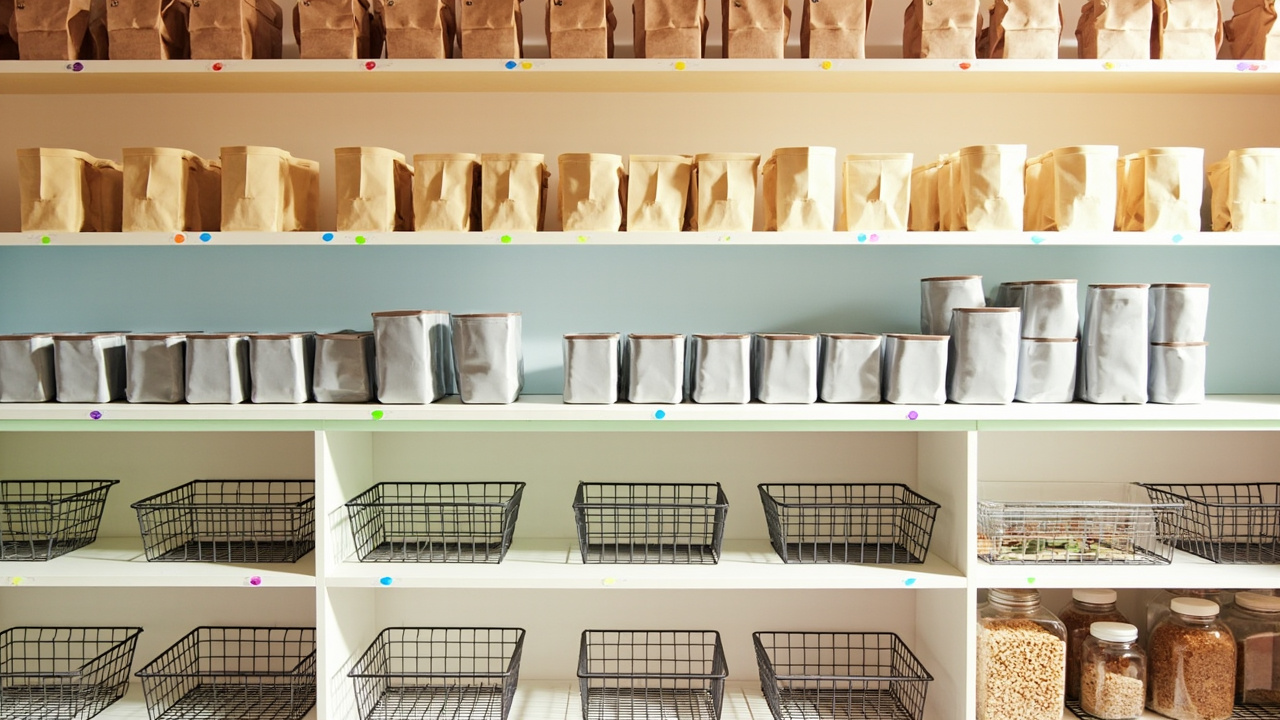
Pantry zones (Baking / Cans / Snacks / Breakfast / Spices) only hold up when you set them up as a method, not just buy a matching set of containers. The 5-Step Method is purge → map → assign → contain → label → reset — a repeatable workflow that runs the first time in 60 to 90 minutes, then holds on a 5-minute weekly rhythm. In my own pantry, the reset step is the one I skipped first, and the zones collapsed in three weeks.
This page owns the method + zone setup depth: zone-by-zone implementation, drop-off habits, maintenance reset, layout by pantry type, and a constraint guide. For the zone overview, see the pantry organization hub. For container-to-shelf-depth matching, see pantry storage solutions. For small-space geometry, see small pantry organization.
Why Pantry Zones Collapse Without a Method
Most pantry zone systems fail for one of five reasons, and none is “the wrong containers”:
- Containers bought first, zones never assigned. You fill a 6-piece matching set with whatever fits. The find-anything time stays the same.
- Zone boundaries drift because there’s no rule. “Baking stuff goes roughly here” isn’t a zone; it’s a habit that breaks when someone else puts groceries away.
- Family dumpers don’t know which zone. When kids or a partner unload, the most-used bin absorbs whatever doesn’t fit. That bin becomes a junk drawer.
- The purge step gets skipped. Expired cans hide behind fresh ones in every zone.
- Label-less zones turn identical containers into mystery powders. Three matching bins of white powder stop being distinguishable.
The fix isn’t a better container — it’s a method. The 5-Step Method gives every zone a shelf height, a rule, a container type, and a label set. For the upstream purge, see the pantry declutter checklist.
The 5-Step Method (Repeatable Workflow)
The 5-Step Method runs six actions in order: Purge → Map → Assign → Contain → Label → Reset. Run them once at setup (60–90 minutes), then hold with a daily 30-second reset.
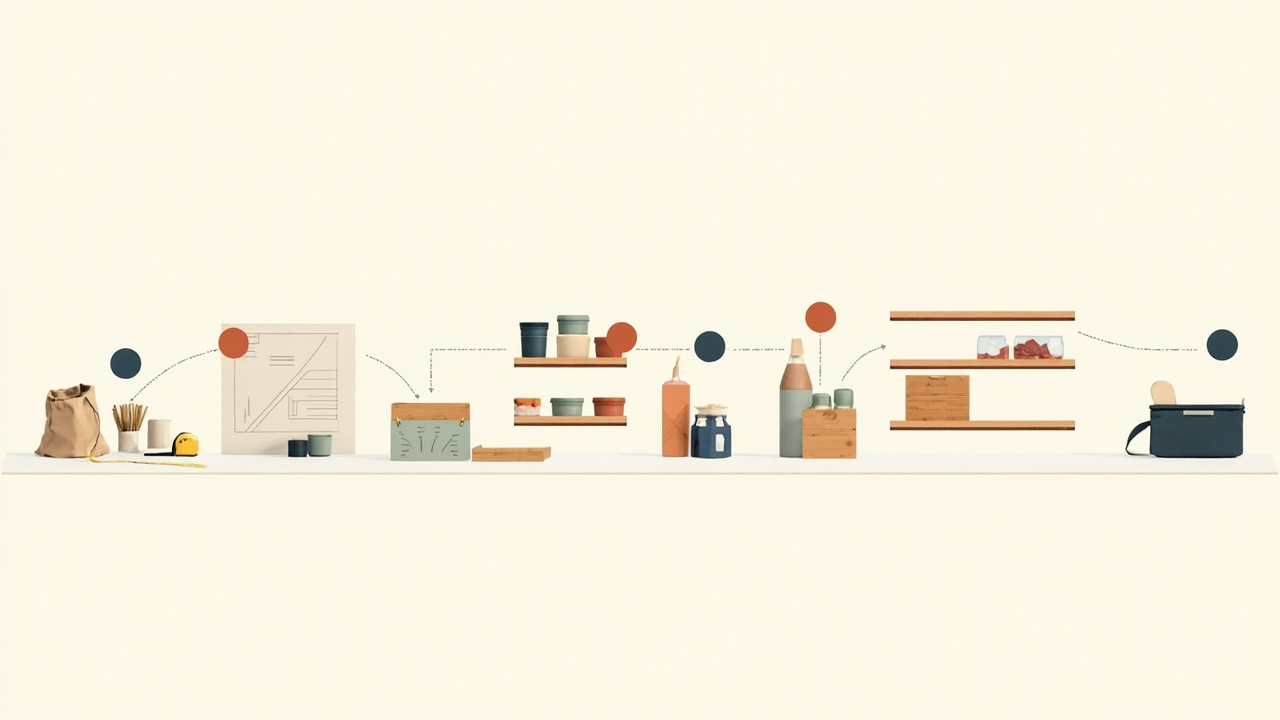
Step 1 — Purge (Empty + Sort + Discard)
Pull everything out. Group items by zone candidate on the counter: baking, cans, snacks, breakfast, spices, plus a “doesn’t fit” pile. Toss past-date items. Donate unopened-but-unused items. This is the step most people skip, and the one every zone failure traces back to.
Step 2 — Map (Measure + Decide Zone Footprint)
Measure shelf depth, height, and width. Decide which zone sits at which shelf height by one rule: most-used at eye-level, heavy cans on the bottom, spices on the top. If a shelf is too shallow for cans, cans move.
Step 3 — Assign (Place Items into Zones by Rule)
One rule per zone. Zone 1 = baking. Zone 2 = cans. Zone 3 = kid-grab snacks. Zone 4 = breakfast. Zone 5 = spices + oils. Anything that doesn’t fit goes back to the purge pile. This is the KonMari category-not-location principle applied to the pantry.
Step 4 — Contain (Pick Zone-Specific Container Type)
Wire baskets work for cans and snacks — open air prevents mystery cans hiding in the back. Bamboo-top stackable baskets work for baking display — the bamboo surface gives a clean label spot. The container decision is a sister topic: pantry storage solutions owns container-to-shelf-depth.
Step 5 — Label (Make Zones Findable in 5 Seconds)
Two label systems work together. Preprinted category labels like the Hebayy 308 pantry labels ($8.99) cover the 5 zone names. Colored dot stickers ($8.99) mark the zone boundary. For rotating contents, use blank writable labels ($9.99 for 1,000 blanks).
Step 6 — Reset (Daily 30 sec + Weekly 5 min + Monthly 15 min + Quarterly 45 min)
Anchor each tier to a real event: daily when you cook, weekly when you shop, monthly when you pay bills, quarterly when seasons change. Skip a tier for two weeks and zones collapse.
Zone 1 Setup: Baking & Dry Goods
Zone 1 Setup Steps
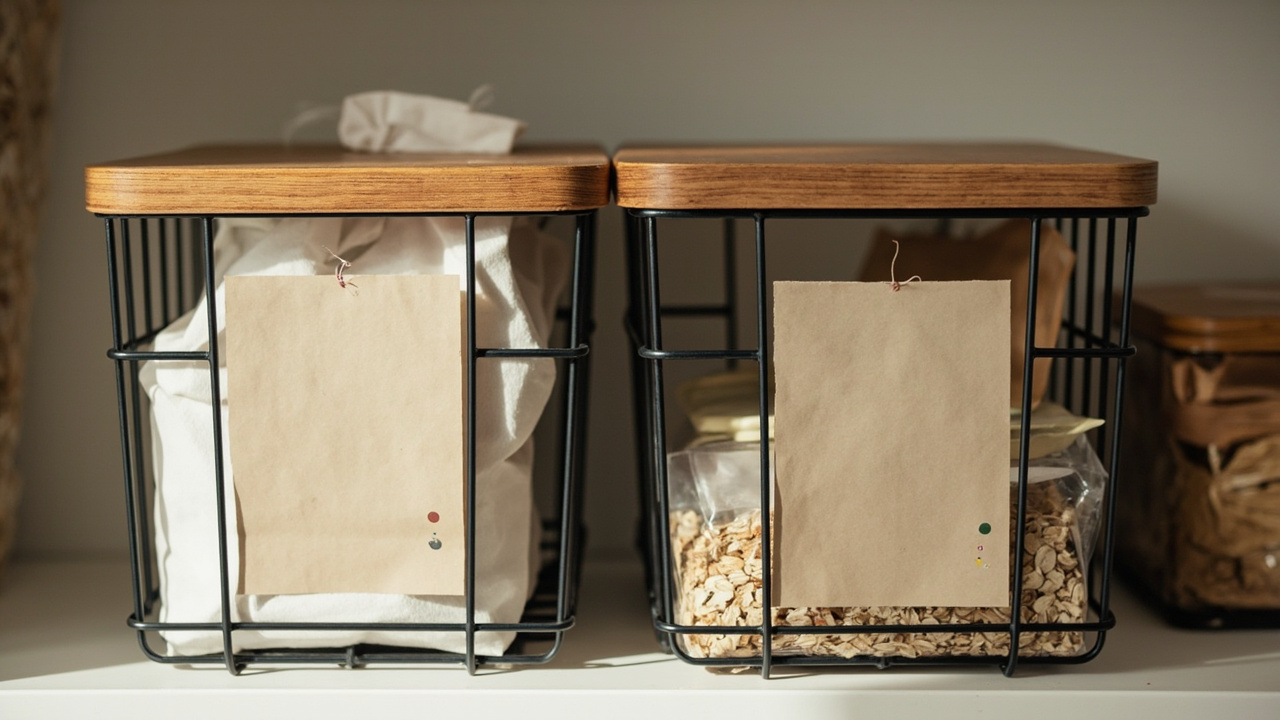
Best-fit location: eye-level or second shelf. Container style: wide low baskets with bamboo tops so flour, sugar, and oats are visible from above. The AOZITA 2-set large stackable wire basket with bamboo tops ($29.98) gives a labeled, open-air surface. Apply a preprinted category label to each basket front: Flour, Sugar, Baking Soda, Brown Sugar, Vanilla.
Drop-Off Habit
Return items to the basket, not the original bag.
Zone 2 Setup: Cans & Jarred Goods
Best-fit location: bottom shelf — cans are heavy and gravity helps FIFO rotation. Container style: wide-format open wire baskets grouped by cuisine sub-zone. The VITEVER 8-set extra-large wire baskets with labels ($41.99) splits cans into sub-zones — beans, tomatoes, soups, vegetables. Color-dot each sub-zone using Lrogoe colored dot stickers ($8.99).
Drop-off habit: rotate new behind old — pull from the front, place new in back.
Zone 3 Setup: Snacks & Kid Food
Best-fit location: kid-height shelf if kids self-serve. Container style: XXL stackable wire baskets with bamboo tops. The AOZITA 2-set XXL stackable wire basket with bamboo tops ($35.98) holds full-size chip bags and snack boxes. Kids pull the basket forward without digging. For a family of 4+, get one basket per kid and label with a writable blank label.
Drop-off habit: when a kid finishes a snack, return the bag to the basket.
Zone 4 Setup: Breakfast & Cereal
Best-fit location: mid-shelf, easy reach for the morning rush. Container style: open-air 6-pack wire baskets. The VITEVER 6-pack wire baskets ($34.99) come mixed-size, so cereal, oatmeal, pancake mix, and bars each fit their own basket. Apply a preprinted category label to each basket front.
Drop-off habit: after the grocery shop, immediately refill from bags — don’t let unbagged cereal sit on the counter overnight.
Zone 5 Setup: Spices & Oils
Best-fit location: top shelf or door (least reach, low daily use). Container style: original packaging with a blank label, or labeled glass jars if you decant. Use blank writable labels ($9.99) for spice names and open dates. Color-dot one accent color on the Zone 5 boundary so kids don’t drift spice jars into the breakfast zone.
Drop-off habit: write the open date and replace the spice every 6 months.
Drop-Off Habit System (Where the Zone Lives in Your Workflow)
The 5-Step Method only sticks if there’s a place for items to land when they come in from outside the pantry. Three habits form the drop-off loop:
- Counter drop-off basket. A wire basket on the kitchen counter holds 1-day overflow before sorting.
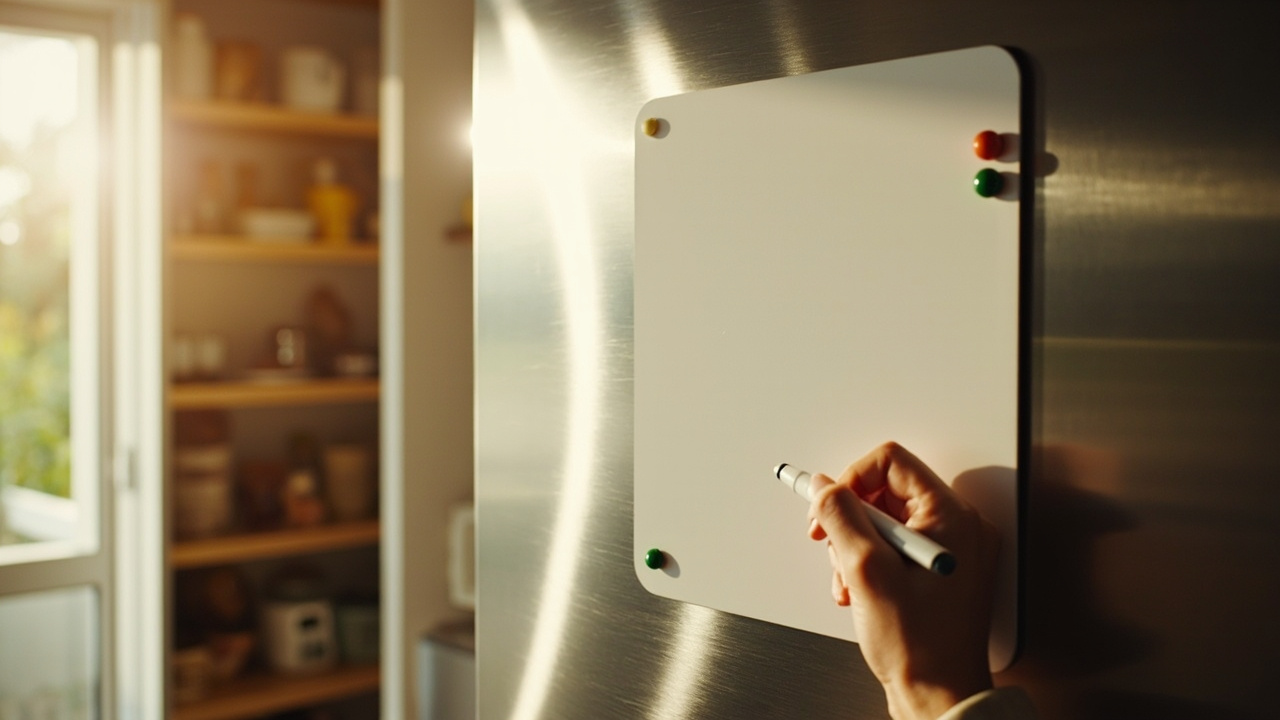
- Magnetic inventory board. A VITEVER 4-pack magnetic dry-erase sheet set ($12.96) lives on the fridge. One sheet = zone inventory, another = grocery list.
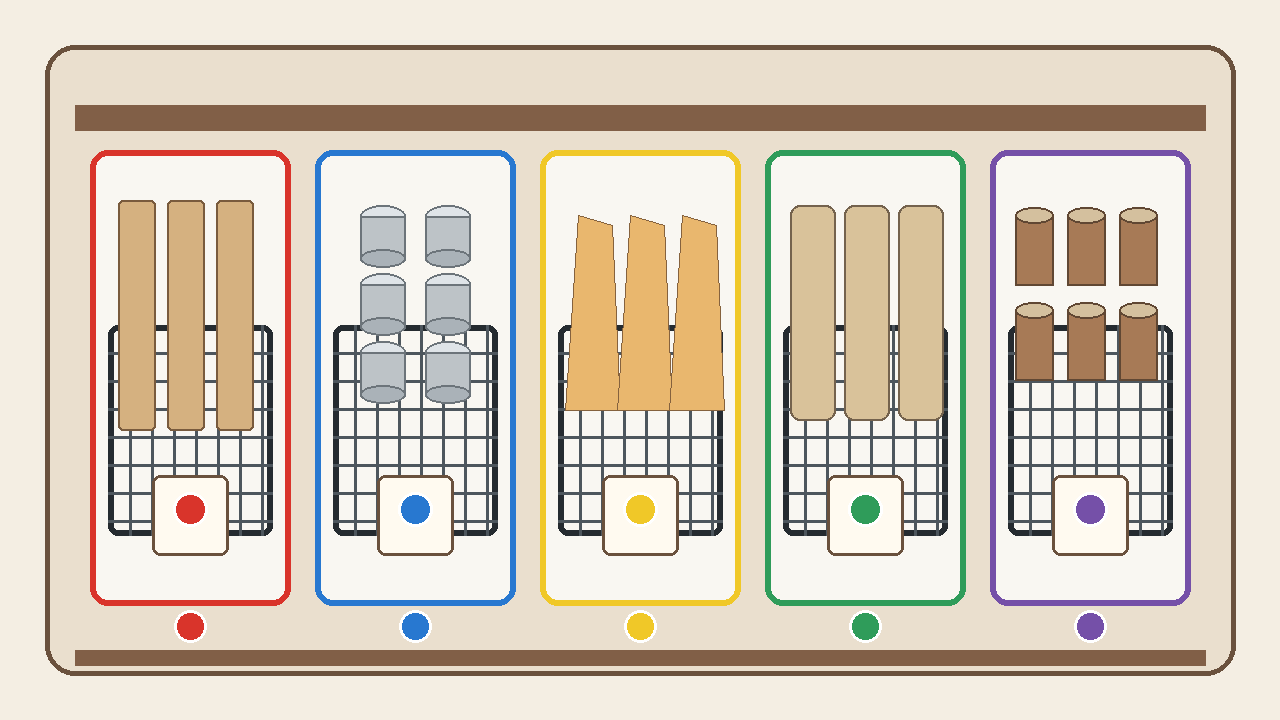
- Color-dot reminder. Each zone gets one color from the Lrogoe colored dot stickers ($8.99). The 5-second zone check is faster than reading a label.
The drop-off loop is what most “5-zone” articles skip. For the category-not-location principle, see the KonMari method.
Drop-Off Habit Tools
The color-dot system is the visible boundary that makes the method stick.
Layout by Pantry Type
Map zones to pantry type, not just shelf depth.
Reach-in closet pantry (24–48” wide × 12–24” deep)
5 shelves stacked vertically. Top = Zone 5, shelf 2 = Zone 1, shelf 3 = Zone 4, shelf 4 = Zone 3, bottom = Zone 2.
Walk-in pantry (48” wide × 36”+ deep)
5 zones radiate from a single aisle. Left wall = Zone 1 + Zone 4. Right wall = Zone 2 (full vertical). Back wall = Zone 3. Right door = Zone 5. Floor = one slim rolling cart — see small pantry organization.
Cabinet-only pantry (one upper cabinet, no closet)
Compress to 4 zones: top = Zone 5, upper-middle = Zone 1, lower-middle = Zone 4, bottom = Zone 2. Zone 3 moves to a counter basket — see small pantry organization.
No built-in pantry (kitchen with no closet)
Use a 4-tier bookshelf against a kitchen wall as the 5-zone surface. Add a rolling cart for Zone 3. Zone 5 spices go on a magnetic wall strip. A counter drop-off basket is critical.
Constraint Guide
Pick the branch that matches your actual constraint.
If you rent (no drilling, no permanent installs)
Skip wall-mount spice racks and over-door organizers. Use removable baskets — AOZITA XXL, AOZITA large, VITEVER 6-pack, and VITEVER 8-pack — plus color dots. All 8 products are rental-safe.
If your family of 4+ shares the pantry (kid-resistant zones)
Color-dot each zone using Lrogoe colored dot stickers so kids identify their zone without reading. Add writable labels for zones that rotate. Heavy cans stay low; never put glass spices on kid shelves.
If you cook often (3+ dinners/week from scratch)
Zone 1 (Baking) gets prime real estate — eye-level, biggest container. Use the AOZITA 2-set large stackable wire basket with bamboo tops for the baking display, plus preprinted category labels. Zone 4 compresses to one VITEVER 6-pack wire basket. Zone 2 expands to two shelves with VITEVER 8-set extra-large wire baskets.
If you’re moving in (kitchen not yet configured)
Skip the full 5-step method on day 1. Do Steps 1–3 only (purge, map, assign) on moving day. Run Steps 4–6 over the next 2 weeks. Don’t buy all 8 products at once — start with one counter basket plus color dots plus preprinted labels = $53.05 starter kit.
If budget is tight (under $50 starter kit)
Buy in order: preprinted labels → color dots → AOZITA counter basket → magnetic inventory sheets = $60.92 total.
Common Mistakes
Five mistakes show up in nearly every failed setup.
Mistake 1 — Buying containers before running Step 1 (Purge)
You buy 6 matching baskets, then realize only 2 zones need them after purging 30% of expired food. Run the purge first.
Mistake 2 — Assigning zones by where things used to sit, not by rule
“I always put the crackers on the left.” That’s location-first. The KonMari principle: category rules beat location habits.
Mistake 3 — Labeling only the front of baskets, not the shelf edge
A basket label is invisible when the basket is pulled forward. Add a color dot on the shelf edge.
Mistake 4 — Skipping the color-dot system because “labels are enough”
Labels tell you what’s IN the zone. Color dots tell you WHERE the boundary is. The 5-second zone check is faster than reading mid-cook.
Mistake 5 — Treating the daily reset as optional
The 30-second daily reset is what holds the method. Skip it for a week and the zones collapse.
Maintenance Rhythm
The 4-tier cadence makes the 5-Step Method a method, not a one-time setup:
- Daily (30 sec): return items to their dot-colored zone.
- Weekly (5 min): check the fridge inventory board, mark running-low items.
- Monthly (15 min): one zone gets a deeper review; rotate so all 5 get a focus each quarter.
- Quarterly (45 min): full purge pass using the pantry declutter checklist; re-write faded blank labels.
Maintenance Board on the Fridge
The magnetic inventory sheet is the weekly habit anchor.
Related Guides
- Pantry organization hub — 5-Zone System overview + hero product set
- Pantry storage solutions — container-to-shelf-depth match
- Small pantry organization — geometry alternatives
- Kitchen pantry method — broader 5-step how-to
- Pantry declutter checklist — purge step depth
- Pantry inventory method — FIFO + restock + label cadence
- How to label anything — label types + materials
- How to choose storage bins — bin factors
- Declutter-fast — purge pass upstream
- KonMari method — category-not-location principle
- Declutter maintenance routine — cadence framework
- Pantry guides hub — collection root