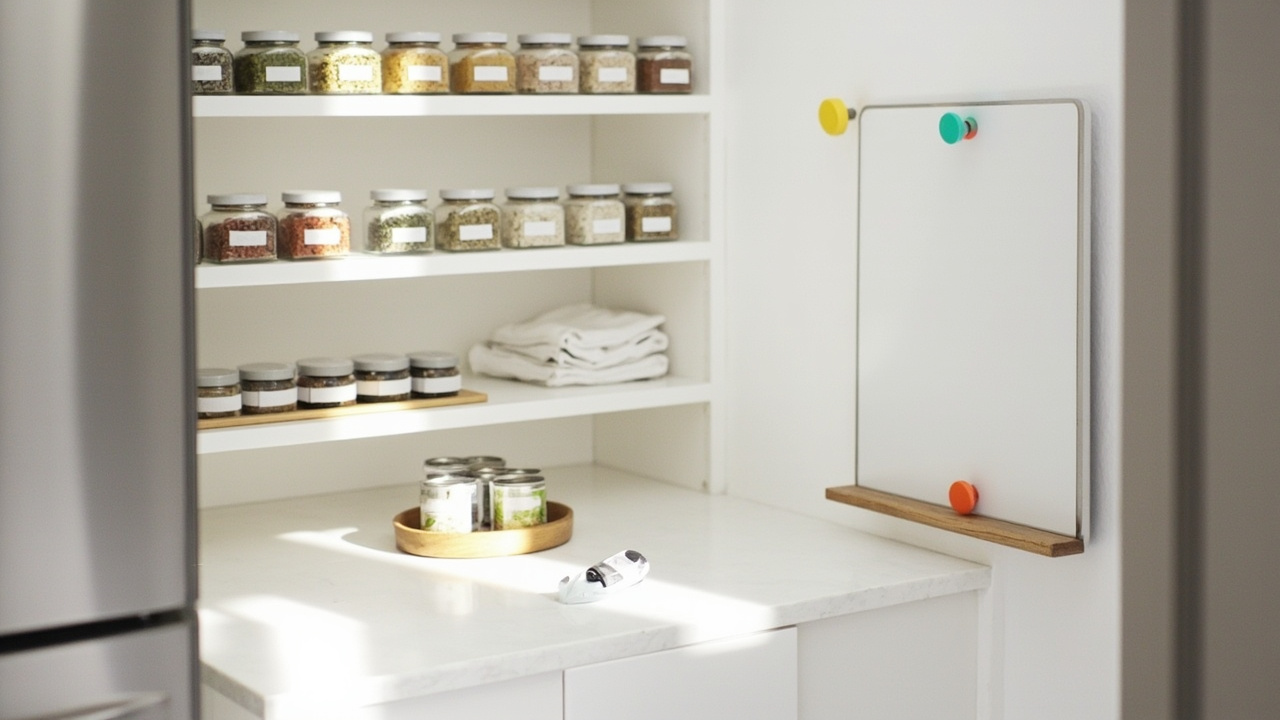
A pantry inventory method is a repeatable system for knowing what you have, when it expires, and when to restock — built on FIFO rotation, open-date tracking, and a par-level rule for staples. Capture everything once, then run a 5-minute weekly sweep. This guide covers the four-step method, the app-versus-paper decision, and household-size constraints — not the 5-zone setup, which is the pantry zone setup method. For container matching, see pantry storage solutions. If you haven’t purged yet, start with the pantry declutter checklist first.
Why Pantry Inventories Fail
Most “I have a system” pantries don’t, and the reason isn’t willpower. An inventory method only survives when the steps fit between dinner and bedtime. Five failure patterns repeat across households.
The cost of no-inventory pantries
Duplicate buys, expired cans, and the 10-minute “what do I have?” dinner tax. NRDC data pegs household food waste near 30 percent, and an unpantried fridge contributes heavily — expired cans hide behind fresh ones, opened flour goes stale silently, restocking happens by habit.
What an inventory method actually changes
One-time capture, weekly touch, no daily scanning. The ledger records four numbers per staple: name, quantity, expiry, open-date (if cracked). You stop over-buying stale staples and running out of the ones you cook with. The weekly sweep stays under five minutes because heavy lifting was done in the one-hour baseline.
What a Pantry Inventory Method Actually Is
A pantry inventory method is a repeatable ledger of quantity + expiry + open-date + par-level, updated by a 5-minute weekly sweep plus a 45-minute quarterly audit. The format is whatever you’ll actually use: app, paper notebook, magnetic board, or a hybrid.
Method vs label system
Labels tell you what’s there; an inventory method tells you how much, when it expires, and when to buy more. Preprinted zone labels cover the “what” — that’s the pantry zone setup method. An inventory method covers the “how much + when” — what this page owns.
Four steps: Capture → Track → Rotate → Restock
Capture the baseline. Track open-date + par-level. Rotate oldest forward. Restock below par. Run the cycle once at setup (~60 minutes), then hold with a 5-minute weekly sweep.
The 4-Step Inventory Method: Capture → Track → Rotate → Restock
Walk every shelf with a phone camera or notebook, write down what’s there, and set the rules that keep the ledger current.
The 4-step workflow at a glance

Step 1 — Capture the baseline (60 min)
Pull each zone off the shelf. Photograph every item. Record name + quantity + expiry + open-date into one of the formats in the app vs paper section. Set aside anything past its date or unopened for 12+ months. Pick containers from pantry storage solutions first if you don’t have them yet.
Step 2 — Track open-date + par-level
For each staple, set a par-level — the minimum quantity before restock. Write the open-date on every container you crack open, using a Brother PT-N10 label maker for printed labels that survive dishwasher cycles, or a Nelko P21 Bluetooth label maker for budget phone-connected labels. Par-level example: rice = one unopened bag always; canned beans = three cans minimum.
Step 3 — Rotate FIFO (oldest forward)
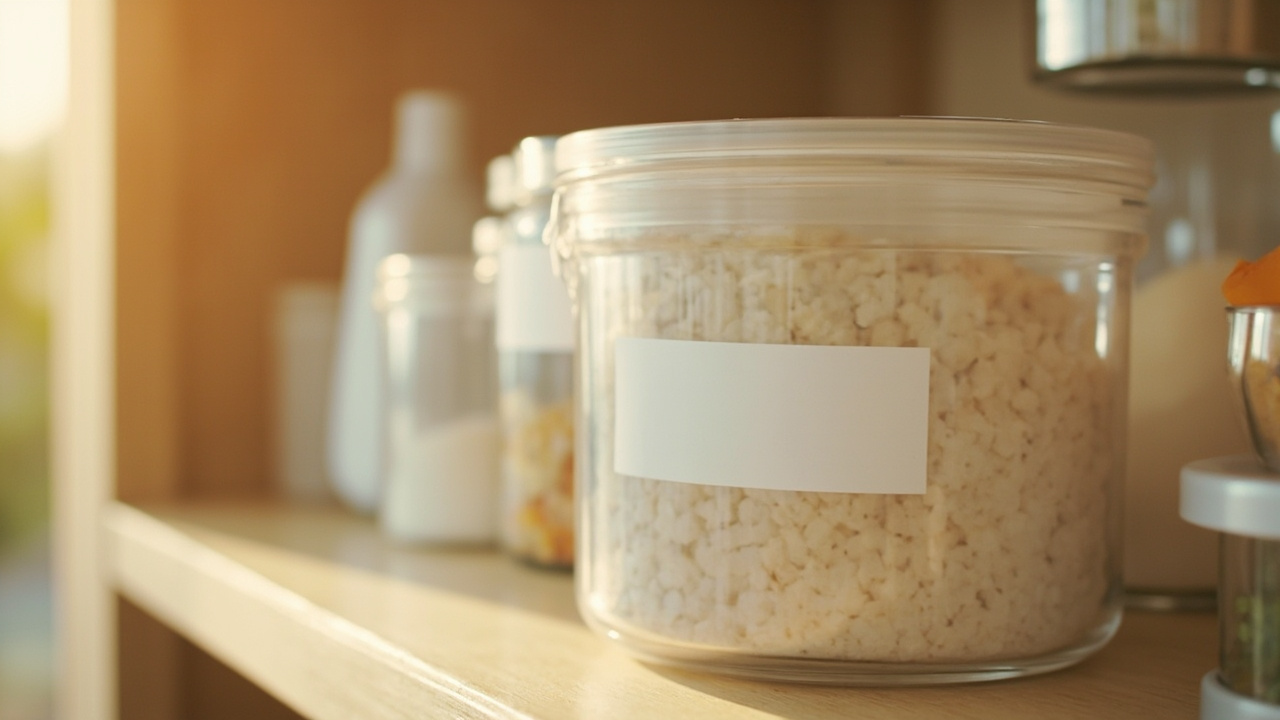
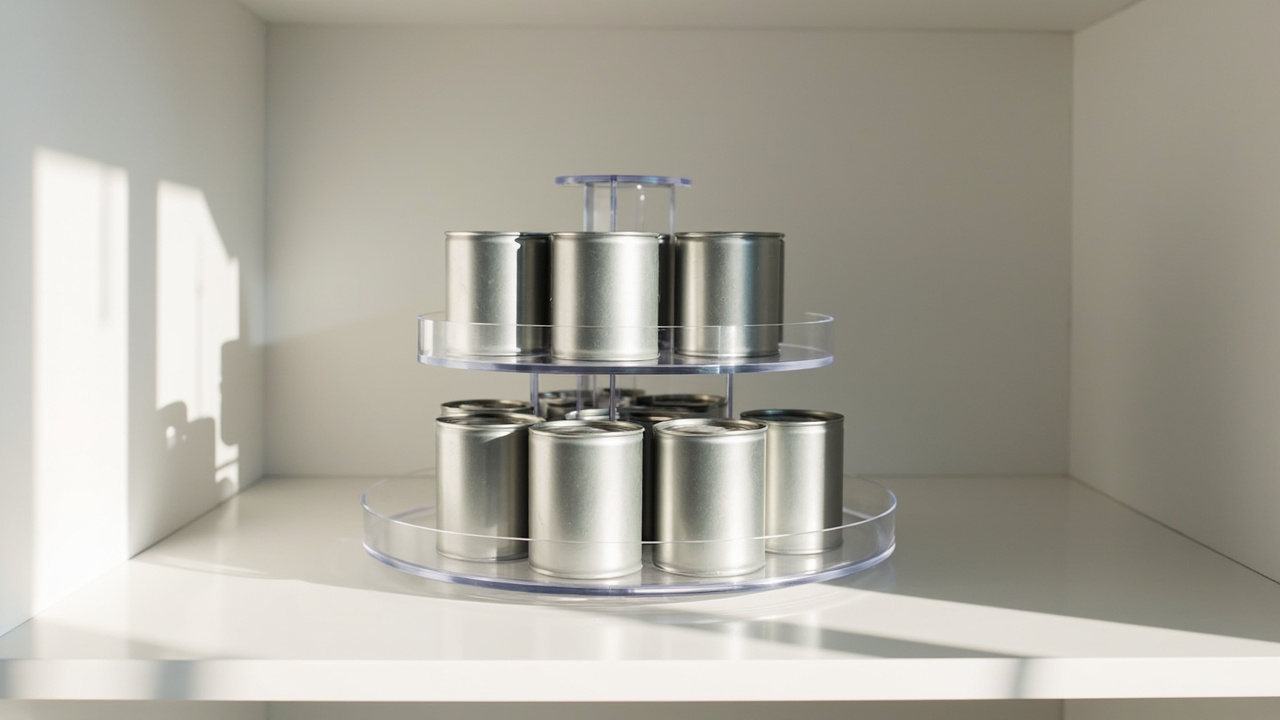
Place new purchases behind older stock. Use a LAMU 2-tier lazy susan turntable for cans and bottles so gravity keeps the oldest visible. For dry goods in ClearSpace clear bins, line new behind older. Apply FIFO to opened AND unopened goods.
Step 4 — Restock below par (weekly sweep)
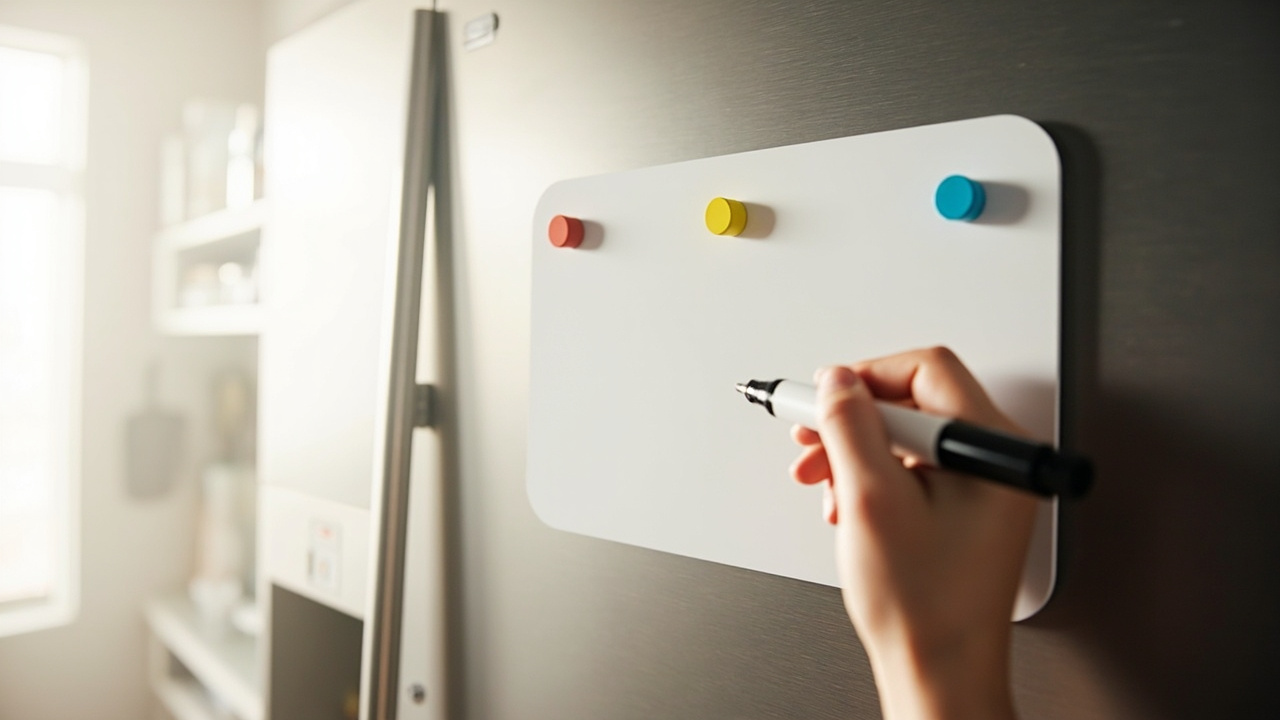
Anything below par-level goes on the shopping list. Mark restock on the YES4QUALITY magnetic dry-erase board on the fridge. The board stays visible to all members and survives power outages. After shopping, place new items behind older ones — the cycle loops back to Step 3.
Tools: 5 Product Picks by Inventory Function
Five products mapped to one inventory function each. Pick by the function that solves your biggest failure first.
Premium label maker — Brother P-Touch PT-N10 (P1)
Printed date labels for freezer, fridge, and pantry that survive dishwasher cycles. Best for households committing to a permanent inventory system with a Brother label ecosystem.
Budget label maker — Nelko P21 (P2)
Bluetooth phone-connected label printer with multiple templates, no dedicated printer cost. Best for first-time inventory systems or renters.
Inventory chalkboard — YES4QUALITY Magnetic Dry Erase 12×8 (P3)
Fridge-mounted surface for the weekly sweep — write zone-low status and shopping list. Different brand from sister VITEVER pantry zone setup method’s 4-pack board.
Can rotation turntable — LAMU 2-pack 2-tier (P4)
Gravity-rotation 2-tier design rotates the oldest can forward. Distinct ASIN from sister pantry organization hub’s 3-pack single-tier LAMU.
Inventory-grade clear bins — ClearSpace (P6)
See-through full-pantry bins — see expiry status from the shelf edge without pulling the bin. Distinct brand from sister YIHONG / Tiawudi / Vtopmart.
App vs Paper: Choosing Your Tracking Format
The format matters less than the habit. Pick the format you’ll actually touch every Sunday before shopping — apps without a baseline usually get abandoned within a month.
When an app wins
Shared household / barcode scan / search by name / expiration push alerts / syncing across phone plus tablet. Examples: Pantry Check, Noom, Our Pantry, Home Inventory. The push-alert feature alone cuts expired-can waste in half for households that cook most nights.
When paper wins
Power-outage resilient / kids can write / no battery / single-page scan during shopping. Examples: a single-section notebook with staples listed alphabetically, a weekly notepad clipped to the fridge, a magnetic chalkboard at eye-level. Paper is faster to update during cooking.
Hybrid default (recommended)
App for staples + barcodes; magnetic board P3 for the current-week shopping list; paper notebook for the quarterly audit trail. Capture the baseline on paper first, then import staples into the app. The labeling system guide walks through the print-vs-chalkboard-vs-preprinted decision.
Layout by Household Inventory Style
The 4-step method works for any household, but the cadence shifts with cooking frequency and shop size.
If you’re a large family (4+ eaters, weekly shop)
Brother P1 label maker for durability, ClearSpace P6 clear bins for full-shelf visibility, and a dedicated YES4QUALITY P3 magnetic board for the shared shopping list. Run the 5-minute Sunday sweep before the weekly shop.
If you cook for one (solo or couple, small shop)
Nelko P2 budget label maker for phone-connected labels, plus ClearSpace P6 clear bins for snack and small-batch rotation. Run a bi-weekly sweep.
If you buy in bulk (Costco / Sam’s Club once a month)
ClearSpace P6 bins for full-pantry visibility, plus LAMU P4 2-tier turntable for can rotation when stocking 30+ cans at once. Run a monthly deep ledger audit — bulk buying requires a heavier monthly review.
If you have a small pantry (narrow / shallow / no-pantry)
Nelko P2 budget label maker for mobile labels and a paper notebook for the ledger. Add the Brother P1 label maker for printable open-date labels that survive the cramped shelf. Skip the magnetic board — no fridge real estate. Reference small pantry organization for the geometry layer first.
If you’re a digital minimalist / paper-first
Paper notebook for the ledger, YES4QUALITY P3 magnetic board for the shopping list, and the Brother P1 label maker for printed open-date labels — no app, no Bluetooth. Skip apps entirely. Paper works for households under 40 staples; above that, search-by-name becomes painful.
Constraint Guide
The 4-step method works for most households, but six common constraints change which tool you reach for first.
If you have dietary restrictions (gluten-free / vegan / low-sodium)
Inventory must flag allergens per item. Use the Brother P1 label maker with allergen-specific templates, paired with the Nelko P2 Bluetooth label maker for backup mobile printing. Barcode scan catches cross-contamination during shopping.
If you batch-cook weekly
Use the LAMU P4 2-tier turntable for ingredient rotation, and the ClearSpace P6 clear bins so you spot ingredient stock without pulling every bin. Set par-level per recipe and restock during the shop, not mid-week.
If you have no power outlet near the pantry
Magnetic board, paper notebook, and pencil; skip electronic label makers. The YES4QUALITY P3 magnetic board is battery-free. Pair with the Brother P1 label maker — it runs on AA batteries so it works without an outlet.
If you rent and can’t drill / can’t add hardware
Nelko P2 Bluetooth label maker and paper notebook and ClearSpace P6 clear bins — no drilling, no mounting hardware. Reference the pantry declutter checklist for the renter-friendly purge step.
If you share the pantry with roommates
Single shared app (Pantry Check free tier) with login, and a YES4QUALITY P3 magnetic board in the shared zone. Add ClearSpace P6 clear bins per roommate for personal snacks — see-through visibility prevents roommate mix-ups. Agree on par-levels in writing; mismatched par-levels cause duplicate buys.
If you shop at multiple stores (Costco + Trader Joe’s + Aldi)
Use the Brother P1 label maker so the open-date label carries the store of purchase, paired with ClearSpace P6 clear bins so the bin’s location tracks the store. Set par-level per store (Trader Joe’s = weekly, Costco = monthly).
Common Mistakes
Six patterns break the inventory method before it gets off the ground.
- Buying an app before the baseline. App abandonment is high without a baseline. Capture on paper first, then import. Most abandoned apps trace back to “I downloaded it, added three things, forgot it.”
- Skipping open-date tracking on dry goods. Opened flour, sugar, cereal go stale silently; one stale bag ruins the next bake. Open-date tracking is the highest-impact habit in the method.
- Treating FIFO as a can-rack only. Dry goods need FIFO too — line new behind old in ClearSpace clear bins. Skip FIFO on dry goods and the system fails.
- Setting par-levels you don’t need. “Always keep four cans of beans” when you cook beans twice a year = over-buy. Set par-levels based on real cooking frequency.
- Restocking by habit instead of by ledger. “I think we need rice” leads to over-buy. Restock from the magnetic board, not memory.
- Quitting after the first quarterly audit. The inventory method is a habit, not a one-time event. The day you skip the weekly sweep is the day the system fails.
Maintenance Cadence
The 4-tier cadence keeps the inventory method running without burning out. Anchor each tier to a real event so it doesn’t drift.
Daily (30 sec)
Return items to their zone after use. Open-date any container you cracked that day using a Brother P1 or Nelko P2 label. Daily takes less than a minute.
Weekly (5 min, Sunday before shop)
Check par-levels, mark the magnetic board for shopping, rotate oldest cans forward on the LAMU P4 turntable. The weekly sweep runs the loop and prevents small problems from compounding.
Monthly (15 min)
One zone gets a full ledger audit; rotate which zone monthly so all five zones get a focus each quarter. Update the open-date ledger and check the expiry horizon.
Quarterly (45 min)
Full pantry audit plus 30/60/90 expiry sweep; reference the pantry declutter checklist and the declutter maintenance routine for the broader cadence framework.
Related Guides
- Pantry organization hub — 5-Zone System overview
- Pantry zone setup method — 5-Step Method for creating zones
- Pantry storage solutions — container-to-shelf-depth matching
- Small pantry organization — geometry alternatives
- Kitchen pantry method — broader 5-step how-to
- Pantry declutter checklist — purge step + rotation cadence
- How to label anything — label types and formats
- How to choose storage bins — bin factor guide
- Declutter maintenance routine — 4-tier cadence
- Pantry guides hub — collection root