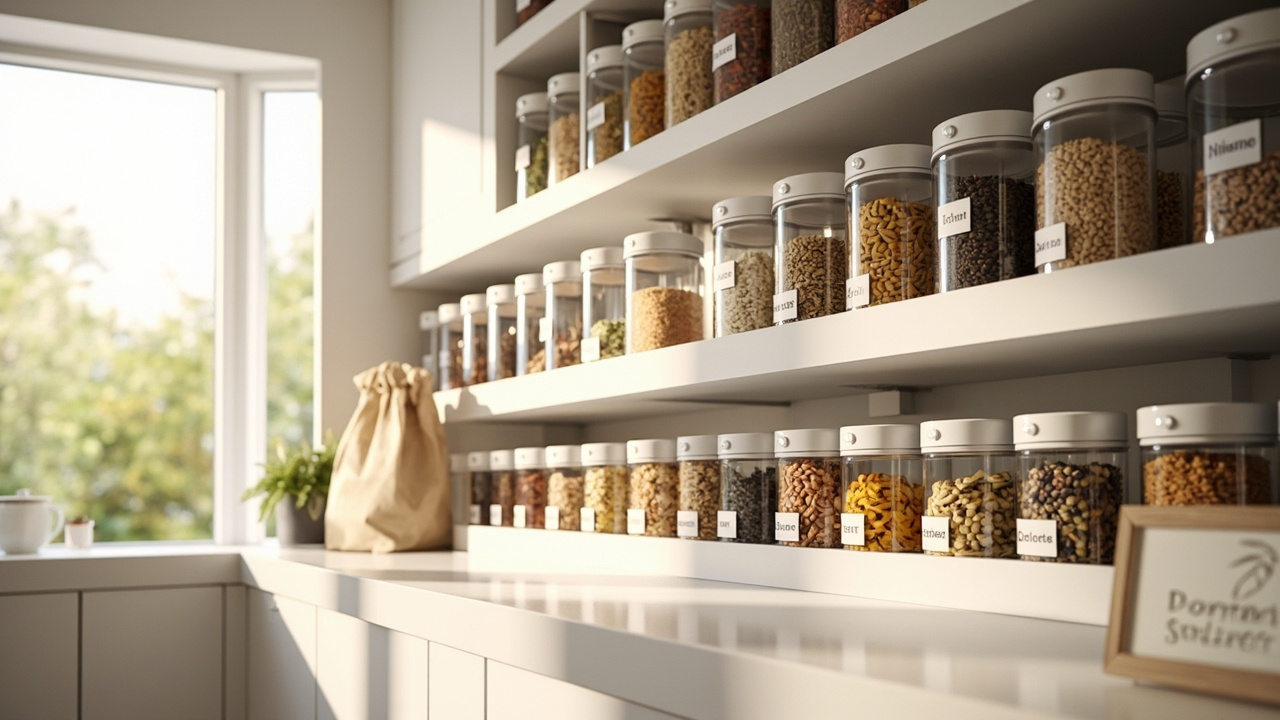
Most pantries are 30 percent stale food and 20 percent duplicates. This checklist fixes both in one afternoon. Print or screenshot the four sections below, set a 3-hour timer, and walk your pantry shelf by shelf.
For the broader system behind this checklist, see our kitchen pantry organization guide and the complete pantry declutter method.
Step 1: Pull Everything Out
Take every item off every shelf. Place items on your counter grouped by category: baking, canned, breakfast, snacks, condiments, oils. This step alone reveals the duplicates you’ve forgotten about — most households find three or four half-empty boxes of the same pasta lurking in the back.
A typical American household wastes $1,500 a year on food it buys but never eats, according to a 2024 NRDC study. The biggest culprit: pantries where expired items hide behind newer purchases. Pulling everything out is the only way to see what you actually have.
If you have a small kitchen with no pantry at all, our small kitchen organization guide covers how to do this exercise using cabinet and cart space instead.
Step 2: Sort Into 4 Quadrants
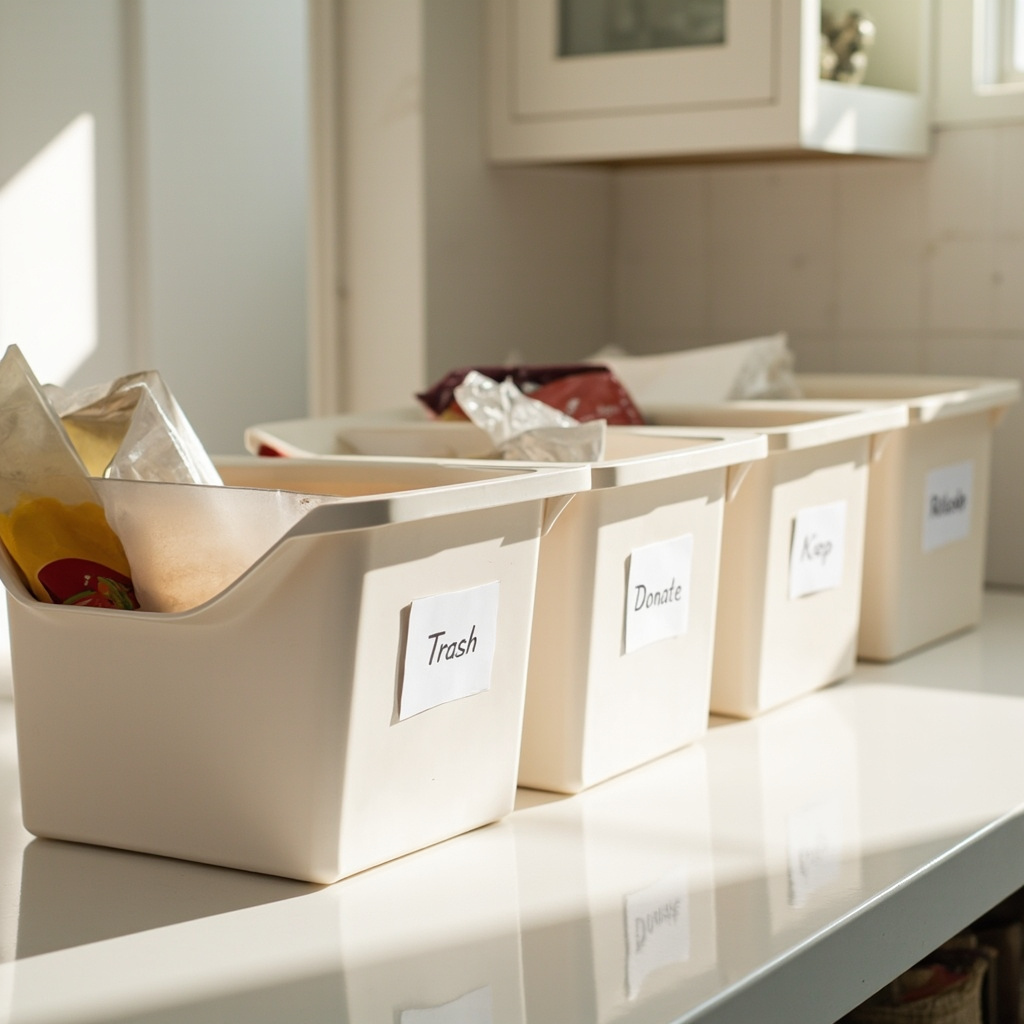
Sort every item into one of four quadrants:
Quadrant 1: Trash
Anything past its expiration date, opened and stale, or visibly damaged. Compost what you can. The average kitchen produces 31 percent food waste per year — this quadrant is where most of it lives.
Quadrant 2: Donate
Unopened, non-perishable items you won’t use within 6 months. Pasta, canned goods, sealed grains all qualify. Most households find at least one full grocery bag’s worth here. Pre-stage in a fabric donation bin the night before drop-off.

Quadrant 3: Keep
Items you use at least monthly and that are still sealed or in good condition after opening. This is your post-checklist inventory.
Quadrant 4: Relocate
Items that belong in another room — cleaning supplies under the kitchen sink, pet food in the laundry room, bulk paper goods in the garage. Most pantries discover 10 to 15 items here on first pass.
For help deciding what truly “sparks joy” in the Keep quadrant, the KonMari decluttering method provides a useful decision framework.
Step 3: The 30/60/90 Rotation Rule
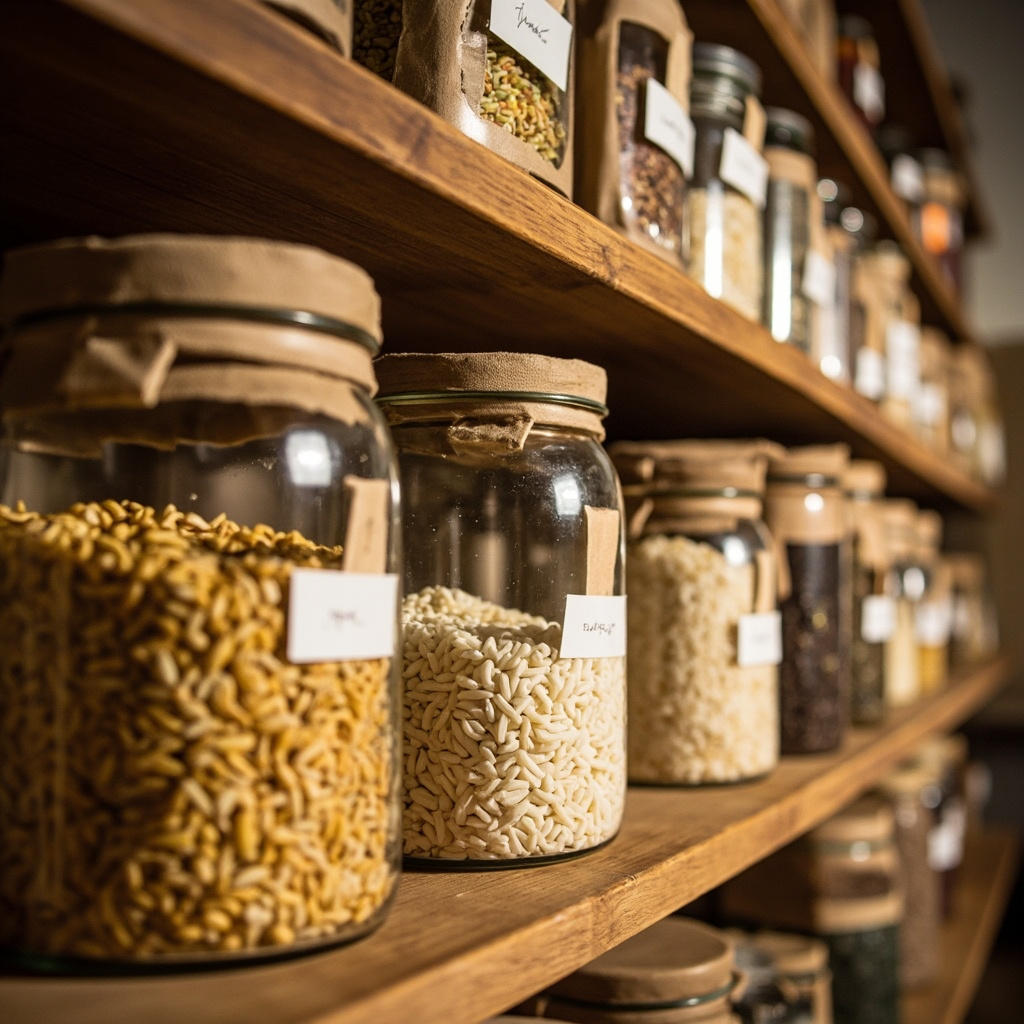
Rotation prevents the next stale-food pileup. Adopt this system:
- 30 days: Items with “best by” dates within 30 days go to the front of the shelf.
- 60 days: Items you haven’t opened in 60 days get donated or composted.
- 90 days: Items older than 90 days in your pantry are likely stale — review manually.
For new purchases, place them behind older items on the shelf. This first-in-first-out (FIFO) method ensures you use older stock first. Pair each shelf with a reusable chalkboard label marked with the rotation date for that zone.
Step 4: Rebuild the Pantry with Zones
Once you’ve sorted, rebuild by zone instead of by category. The five pantry zones that work for most households:
Zone 1: Baking & Dry Goods
Flour, sugar, baking soda. Eye-level for weekly bakers, top shelf for occasional bakers.
Zone 2: Canned Goods & Jars
Group by cuisine. Use the stackable can rack to prevent avalanche retrieval.
Zone 3: Breakfast & Cereal
Kid-height if kids self-serve breakfast. See our kitchen pantry organization guide for the full zone breakdown.
Zone 4: Snacks
Mix sweet and savory. Clear bins let kids see options without dumping everything.
Zone 5: Condiments & Oils
Front-of-shelf for daily-use, back for rarely-used. Never store oils above the stove — heat degrades them.
If you’re working with tight cabinet space, our spice organization guide covers how to layer spices into the same zone system.
Printable Checklist (Screenshot This)
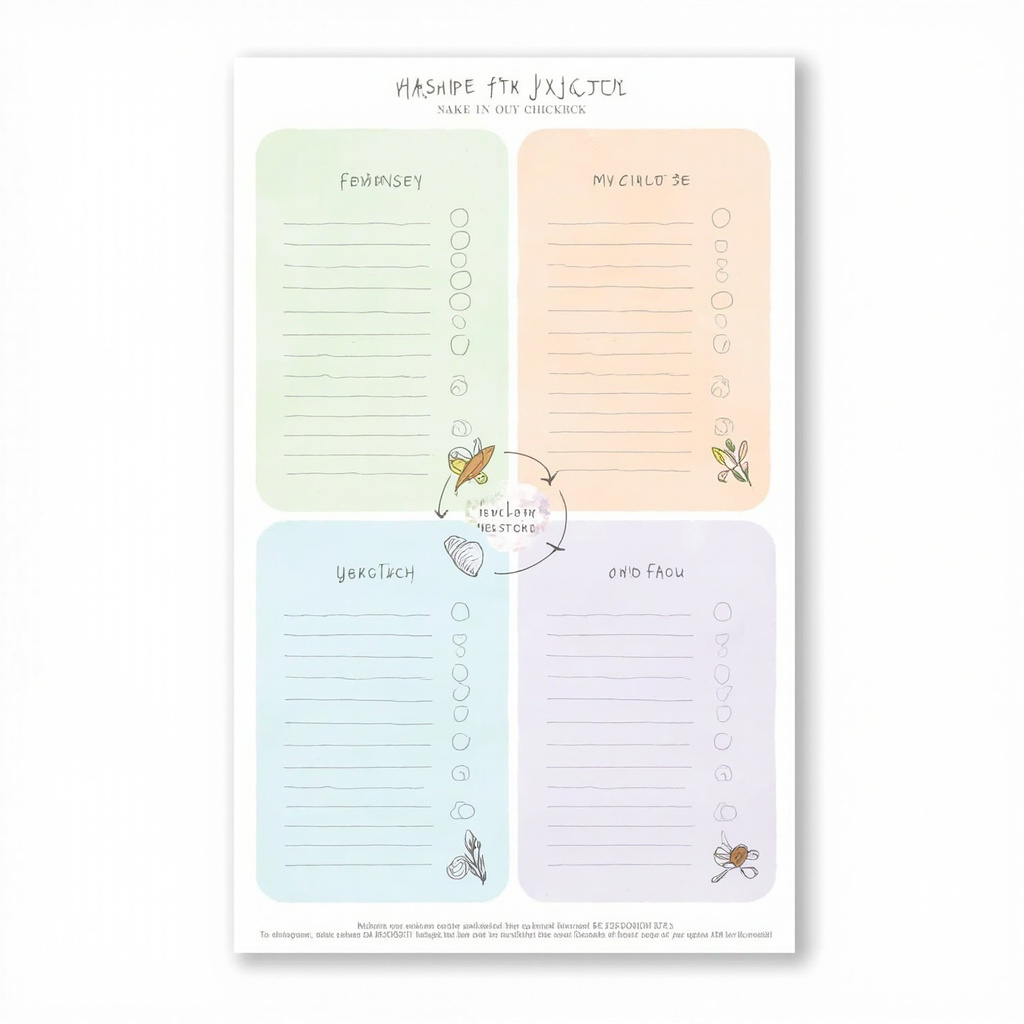
□ Pull everything out (counter space ready)
□ Sort into Trash / Donate / Keep / Relocate quadrants
□ Wipe shelves with all-purpose cleaner
□ Rebuild by zone (Baking / Cans / Breakfast / Snacks / Condiments)
□ Label each zone with rotation date (30/60/90)
□ Schedule monthly 30-minute rotation check
□ Schedule quarterly full expiry audit
Pantry Zone Layout (Reference)
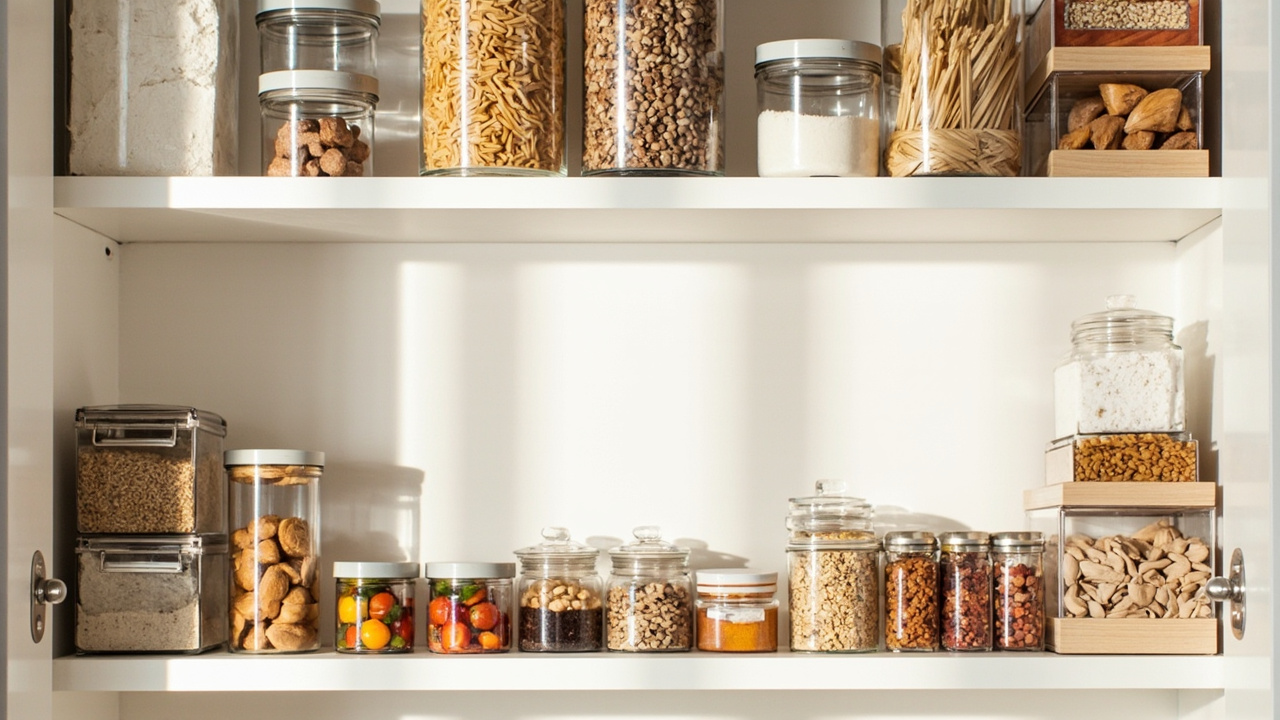
Choosing the Right Bins for Each Zone
Container choice matters less than measurement first. Before buying anything, measure shelf depth, height between shelves, and shelf width. Match containers to those numbers.
Our storage bin buying guide walks through the 5 key factors: Material, Size, Visibility, Stackability, and Durability. For pantry-specific use, our clear vs opaque bins comparison and plastic vs fabric bins comparison help narrow the choice.
For most pantry zones, clear plastic bins win on hygiene and visibility. The mDesign stackable bins are a reliable all-rounder — they nest when empty and stack when full.
Common Mistakes to Avoid
- Skipping the pull-everything-out step — you cannot sort in place. Visual chaos stays chaotic.
- Donating expired items — food banks reject expired food. Trash or compost expired items before donating.
- Buying new containers before decluttering — you will buy the wrong size every time. Always declutter first.
- No rotation system — without 30/60/90, the next stale-food pileup happens within 6 months.
- Forgetting the relocation quadrant — kitchen pantries hold non-kitchen items. Sort them out or they’ll haunt you.
Constraint Guide: Adapting to Your Situation
- if you rent and cannot drill walls → use shelf risers and door-mounted organizers instead of permanent shelving.
- if your pantry is smaller than 4 square feet → focus rotation on top-shelf only; deeper shelves hold backup stock.
- if you have kids → keep snack zone at kid-height and avoid storing anything non-food in the pantry.
- if you cook weekly in bulk → invest in 5–10 gallon airtight bins like the mDesign Plastic Stackable Food Storage Bins (6-Pack) for rice, flour, and grain backups.
- if you follow a specialty diet → use color-coded labels for gluten-free, vegan, allergen-free zones.
- if your kitchen runs hot → avoid plastic bins on top shelves near the stove; metal or glass holds up better.
Conclusion
A pantry checklist is not a one-time project — it’s the start of a maintenance habit. The 3-hour declutter gets you to a clean baseline. The 30/60/90 rotation keeps it there. Pair this checklist with the complete kitchen pantry guide for the full system, or browse our kitchen organization hub for every zone of your kitchen.
Tools for the Pantry Rotation
For canned goods rotation, the CANYAVE can organizer rack dispenses cans FIFO so older ones get used first. For staging donation drop-offs, collapsible bins hold 6 to 12 donation bags without breaking down. To seal opened bags (chips, flour, cereal), magnetic bag clips stick to your fridge for fast access.